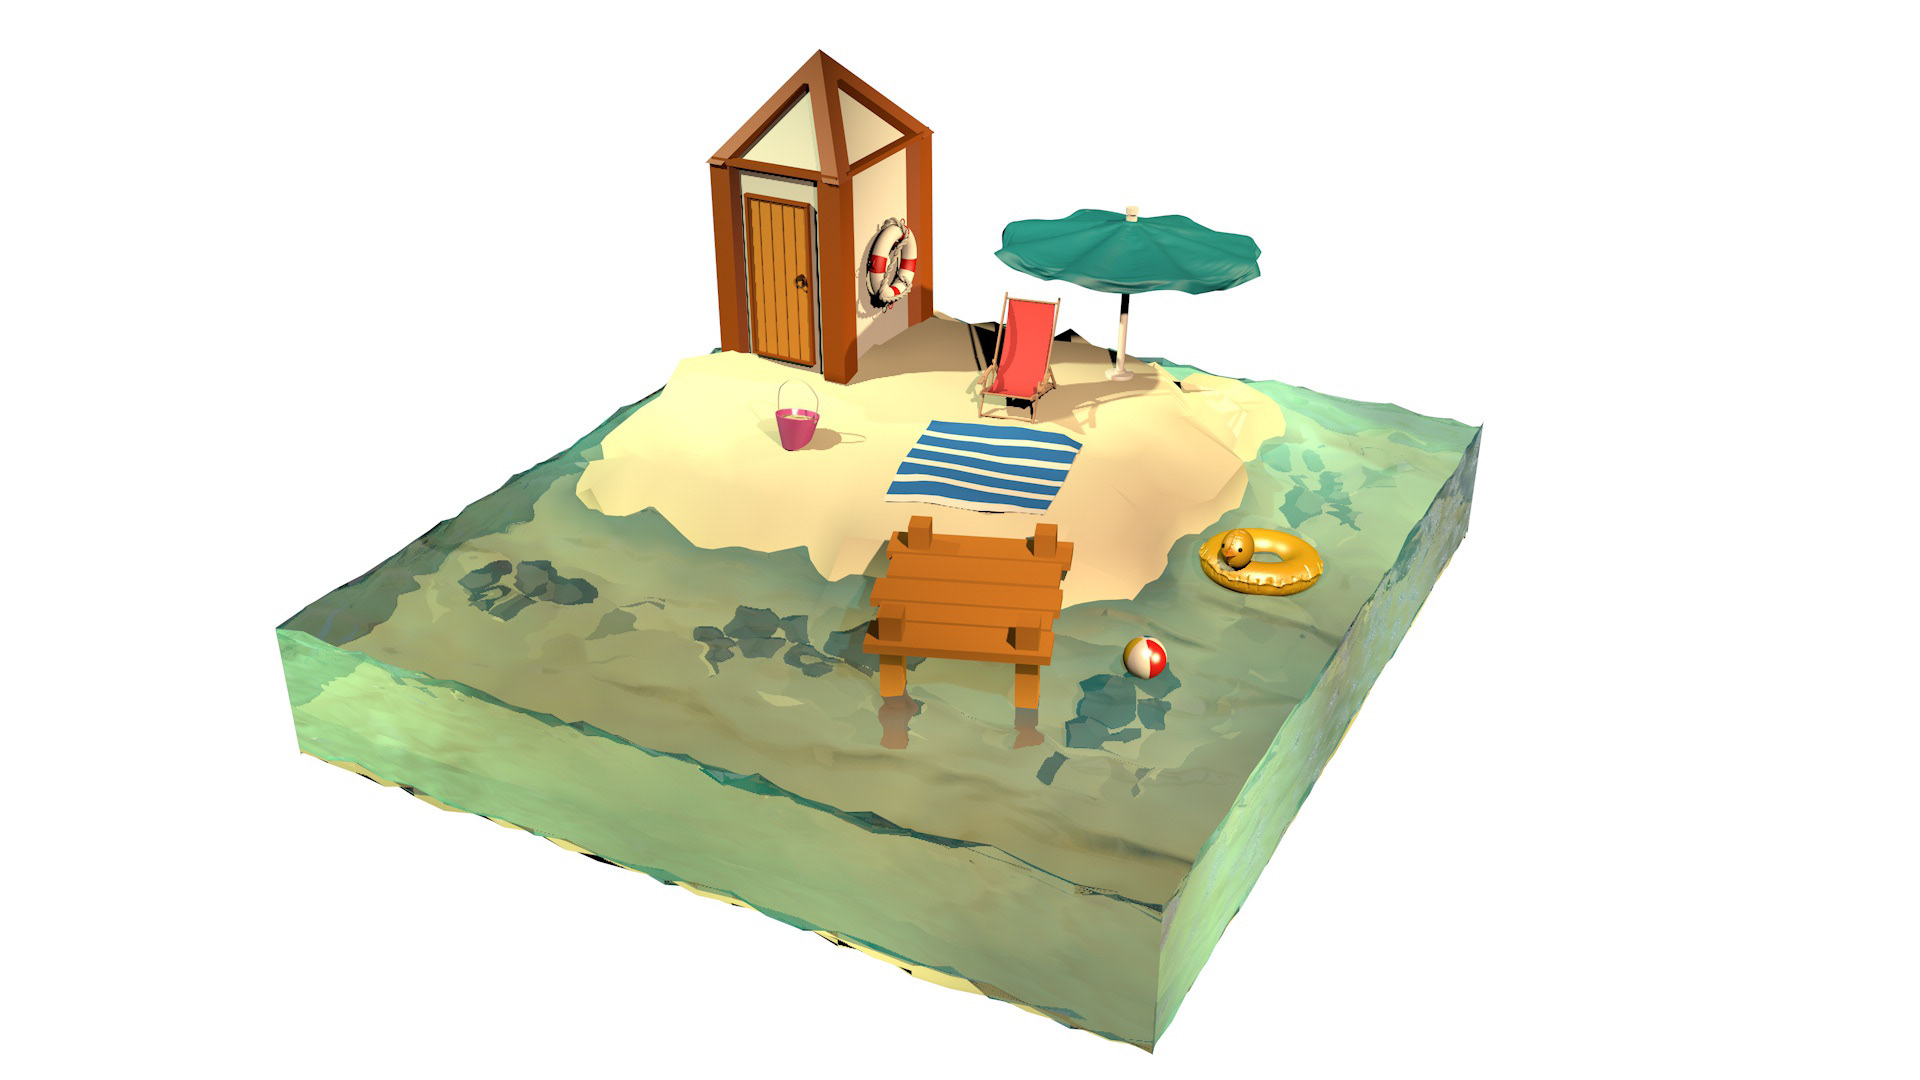
I created an island over making five 3D objects because it connected all my objects together in a set scene. When I look at it, I definitely know that it is a summer beach and not just a sand bucket floating in empty space, for example. It was a massive assignment, and it took me a solid month to complete and render my final scene.

The objects I chose to make were a duck floatie, a beach chair, an umbrella, a sand bucket, and a buoy. Other items in the scene were added for fun. A huge inspiration for making this island was the style of low-poly. As I looked up reference photos, I kept seeing low-poly houses and towns; it made me more interested in trying it out.
The tools I used allowed my objects to look as realistic as possible. Some of them include:
Array and Symmetry tool
I used these tools mainly for the umbrella structure, the beach chair structure, and the buoy rings.
Cloth-Simulator
The beach mat, umbrella cloth, and beach chair cloth were all created using this tool.
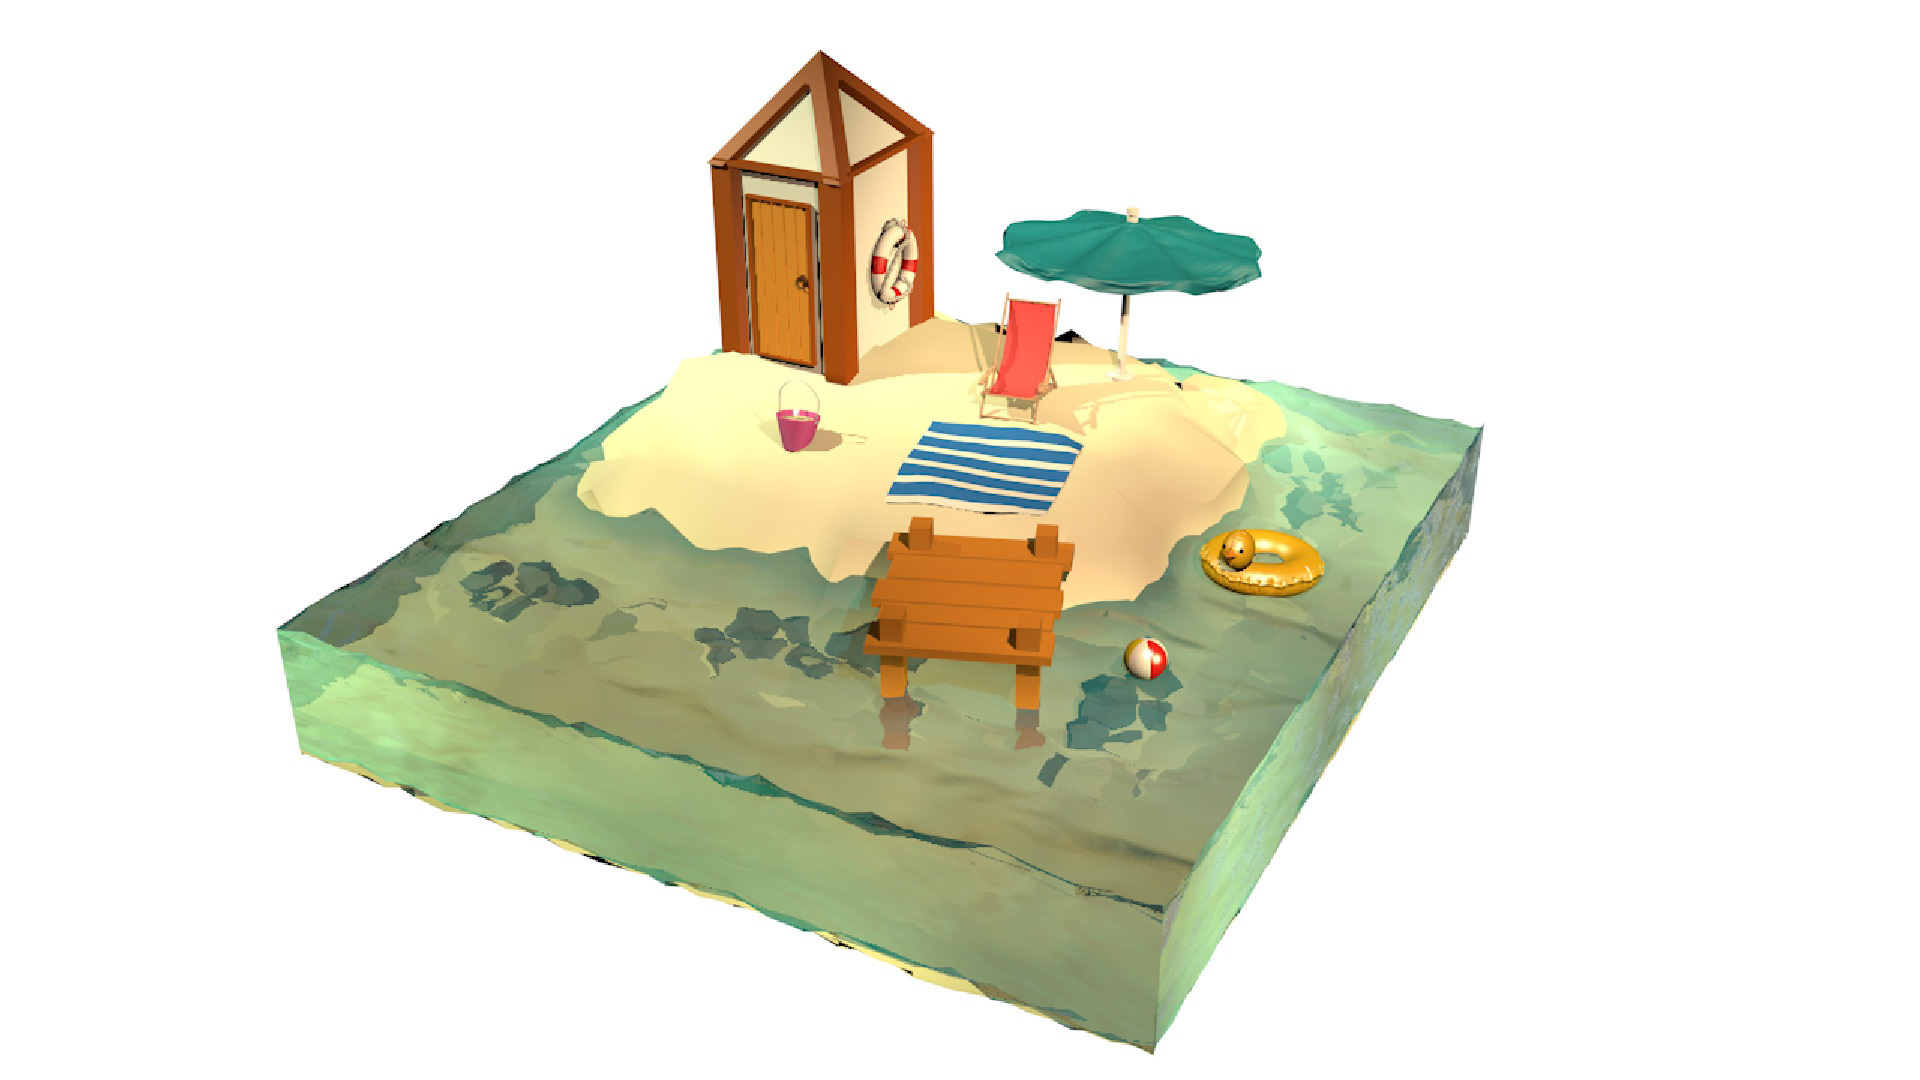
Displacer and Polygon Reduction
These tools created the water effect. To make the low-poly texture I reduced the number of polygons, hence the name.
Extrude Tool
The beach shack utilized the extrude and symmetry tools so everything was the same size, width, and height.
Cloner and Hair Simulator
For the buoy, I used a combination of these tools to create a frayed rope texture.
The ultimate finishing effect was the different textures and lighting I used. These helped bring together the final product. Before I added lighting, you could tell it was just missing something. One of the most important aspects of making 3D art is the lighting and camera work. You have to make it feel inviting and open; I can say with confidence that I achieved that!

Beach Chair

Duck Floatie
Harsh lighting
Soft lighting
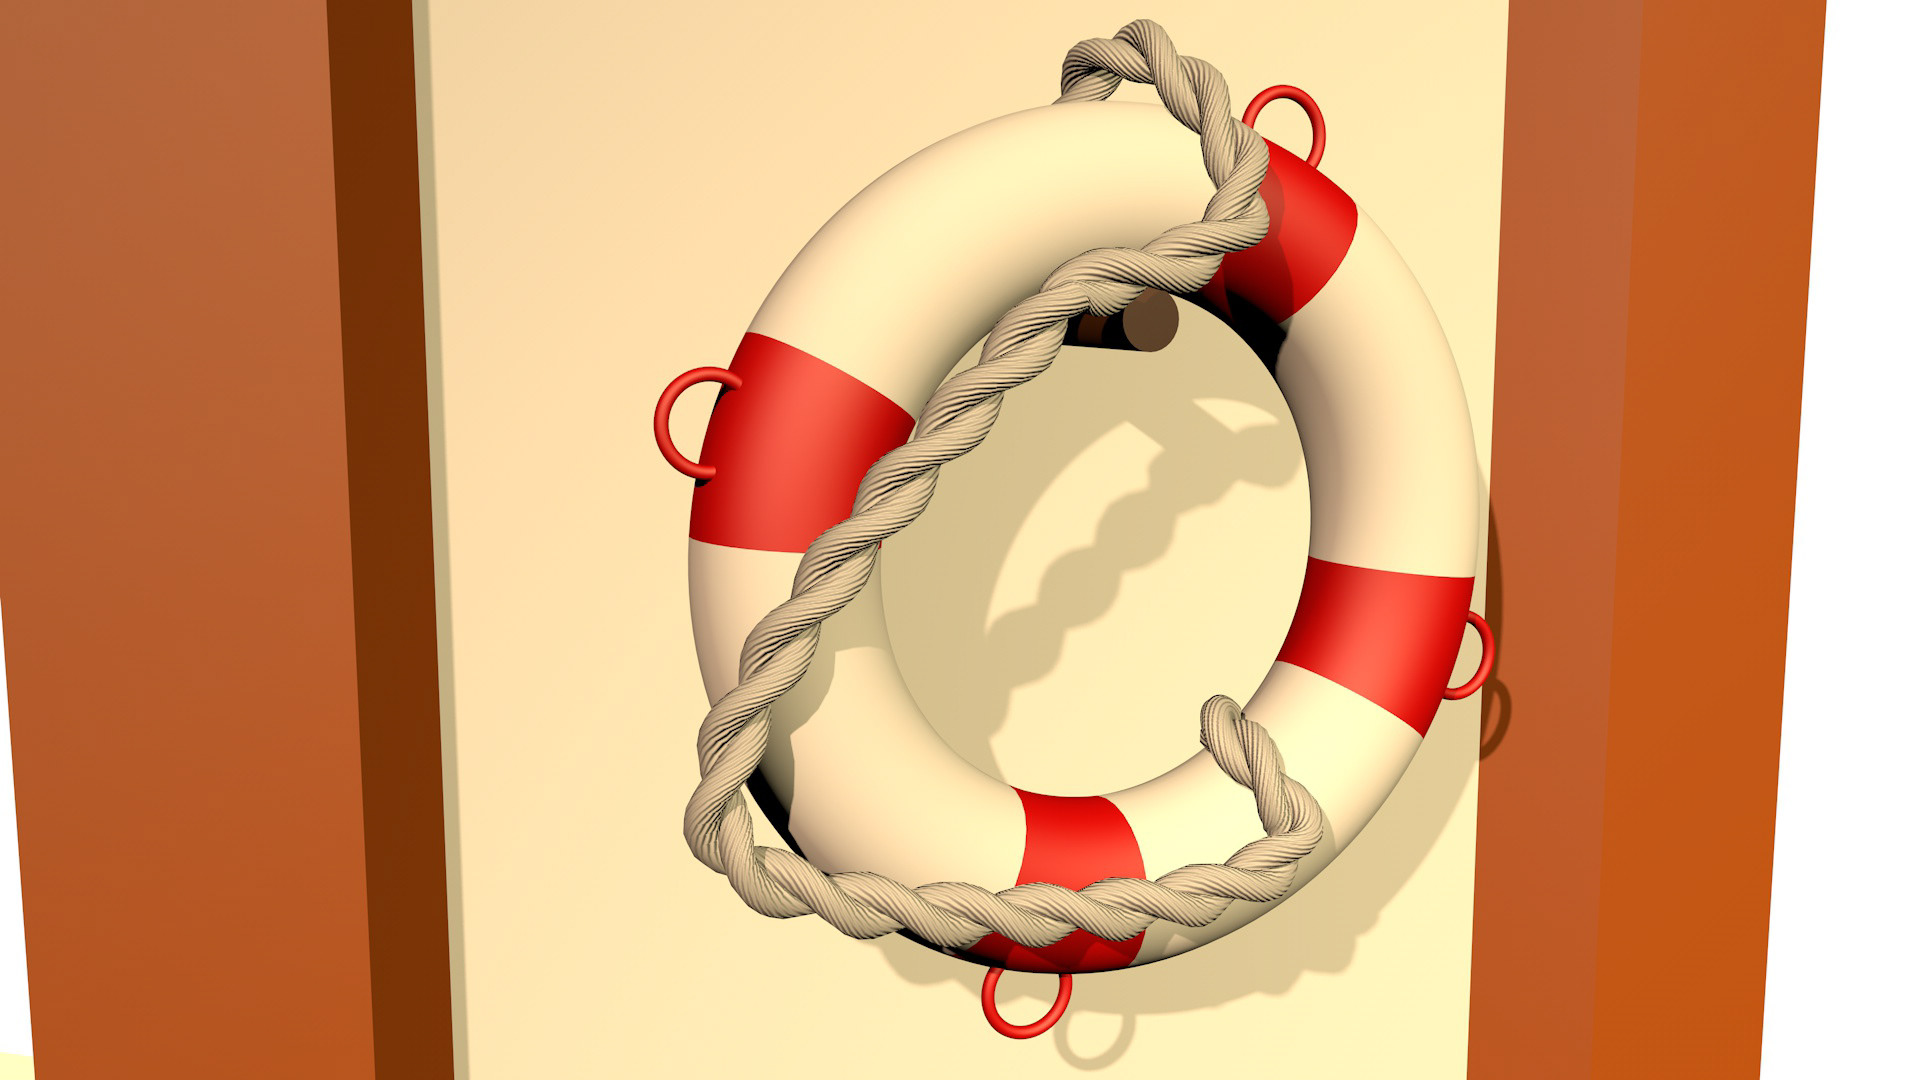
Buoy
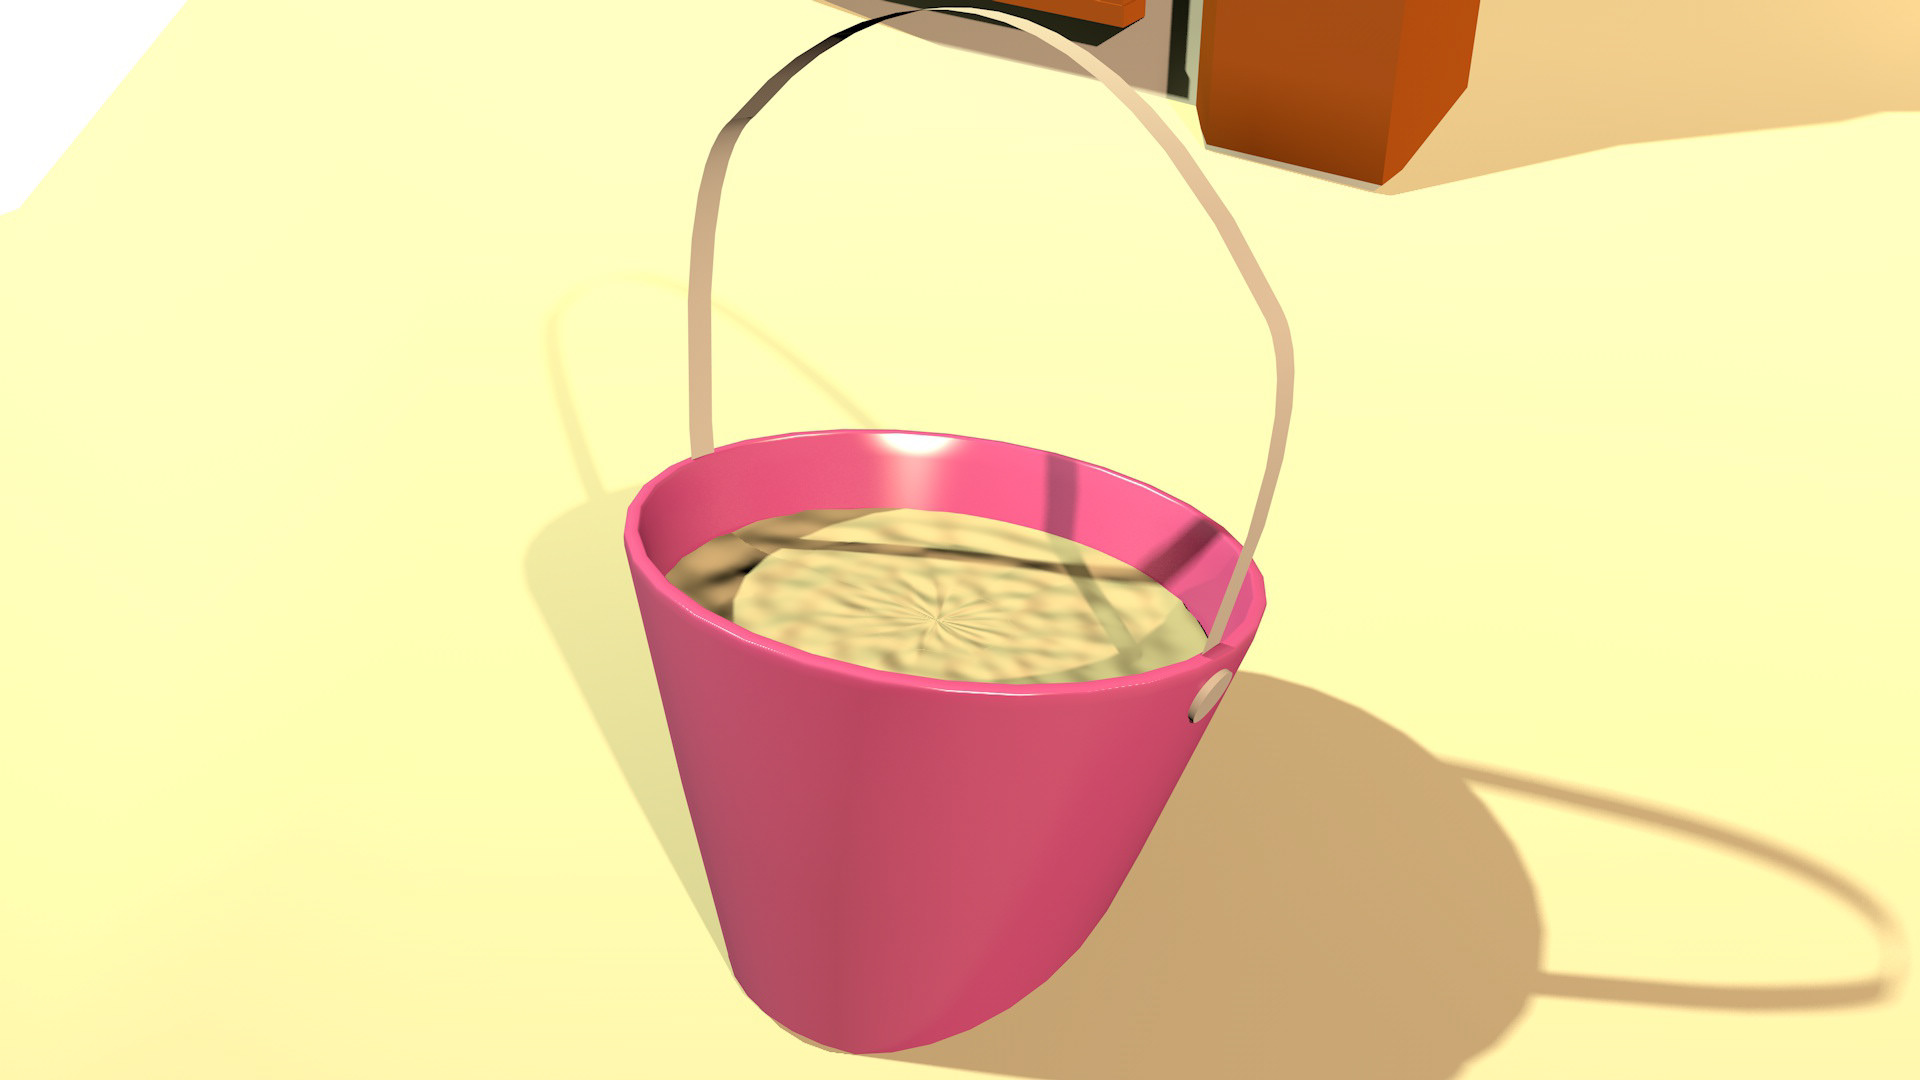
Sand Bucket
